Version 1.0, German from (13.02.19)
We have tried to make this manual as simple as possible. We use “you” because EVE also addresses everyone. For the sake of simplicity, we do not use gender-neutral terms such as “*.innen”. You can find an up-to-date online version of this manual at www.starteve.ai/support. An F&Q, webcasts and a changelog are also available there. We use the following formatting for the manual:
Example is a jump marker to the appropriate section of the manual
[Example] means the button on the EVE interface
Example stands for a label in the EVE interface
“Example” describes a key on your keyboard
EVE behaves like a website, so device, operating system and browser are irrelevant. The service works on all common smartphones, tablets, laptops and desktops with an integrated microphone or a microphone input. We always test EVE on the latest versions of Chrome, Edge and Firefox under the latest releases of Mac OS and Windows.
EVE requires:
Active Internet connection
Device for voice recognition
Clean audio signal of the voice
A human proofreader and an output device are optional.
This quick start is enough for anyone in a hurry. However, to fully understand EVE and all its functions, we also recommend reading the rest of the manual 😊
- Buy a package on starteve.ai and create an account.
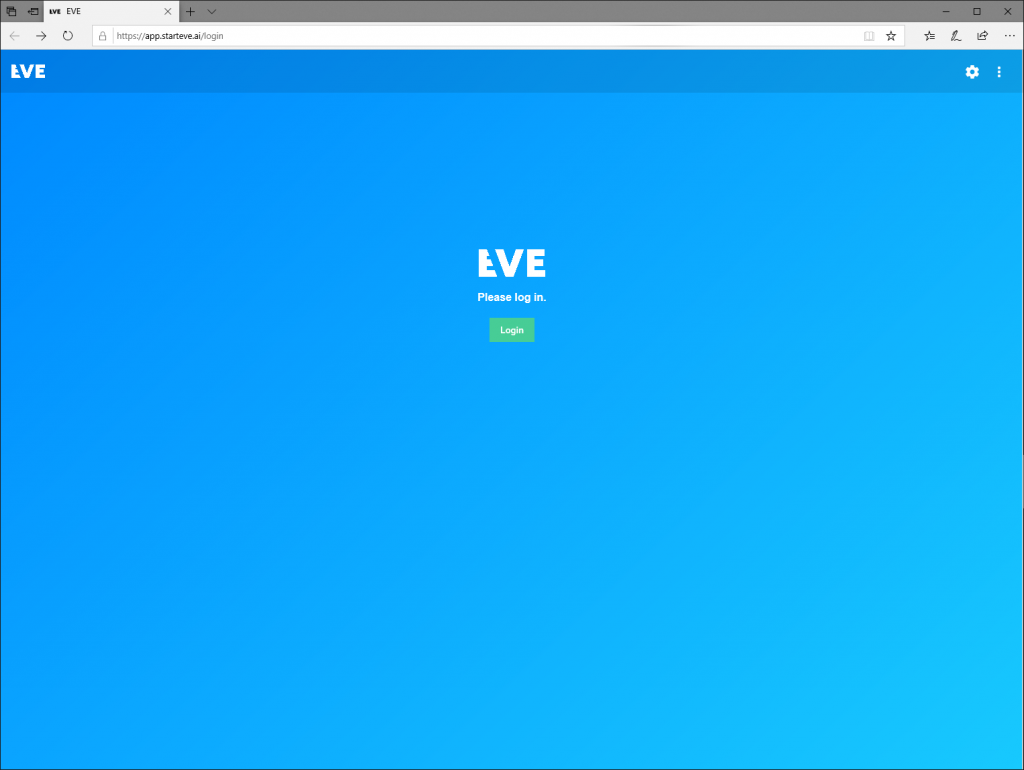
- Log in to starteve.ai
- Create an event and choose a name and language
- Open the output window
- Start the recording and speak into the microphone
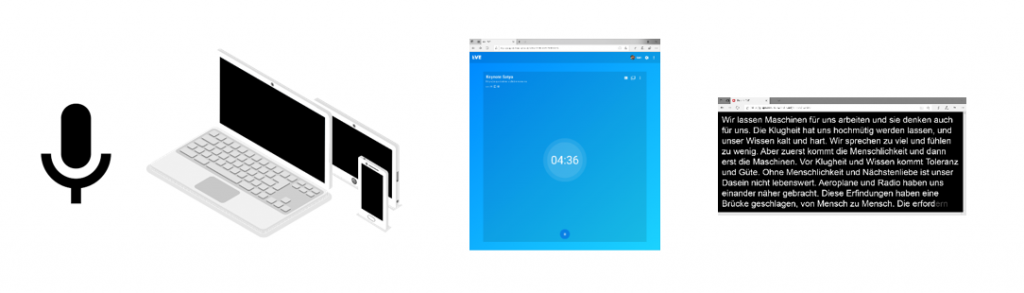
Connect your device to the audio signal. If the event technology supplies the sound via XLR, appropriate USB adapters or USB audio devices can help.
EVE converts the language into text and forwards it to an optional correction window. A person can change and approve it there. The text then appears in the text output window (listener). Either you show this browser window on a separate device or the viewer calls up the page themselves and then sees the text directly on their device.
The quality of EVE depends on the audio signal supplied. Therefore, make sure that the sound is not overmodulated or undermodulated, free of background noise and without effects or music. This makes speech recognition impossible and EVE will output confused text.
Windows 10
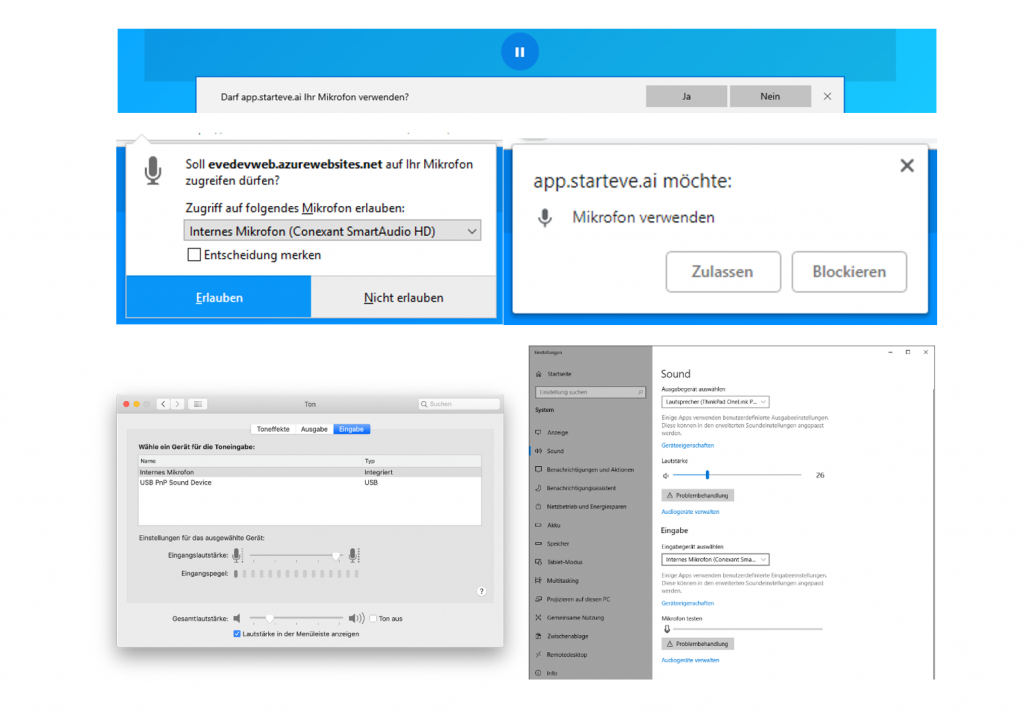
Check the level: In Windows, you can see the microphone level by right-clicking on the speaker icon at the bottom right of the system clock. Select Open sound settings. Select the correct microphone under “Select input device”. The level indicator under Test microphone should be clearly audible when someone speaks into the corresponding microphone. The level should not reach all the way to the end, but should reach over the middle. Click on Device properties (under Input) and adjust the sensitivity of the microphone with the slider until the level is correct.
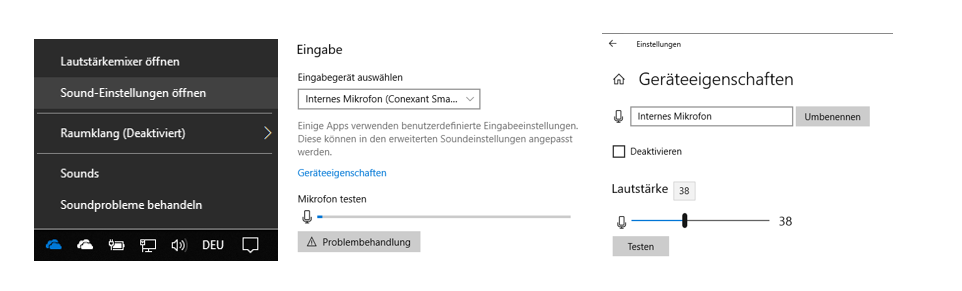
Listen to the level: If the level is correct but EVE recognizes nothing or incorrectly although the correct language is set, it is worth listening to the signal. The microphone signal may be affected by music, noise or other sources of interference. If you are using a USB audio device, you can usually plug in your headphones directly. With USB adapters, you listen via the operating system: Switch to the sound settings as described in the paragraph above. Then click on Device properties (under Input), select Additional device properties on the right and then the Listening tab. Place a tick next to Use this device as playback source and confirm with Apply. You can now hear the microphone signal directly via the connected headphones or speakers and control it. Don’t forget to undo this setting afterwards.

MAC OS
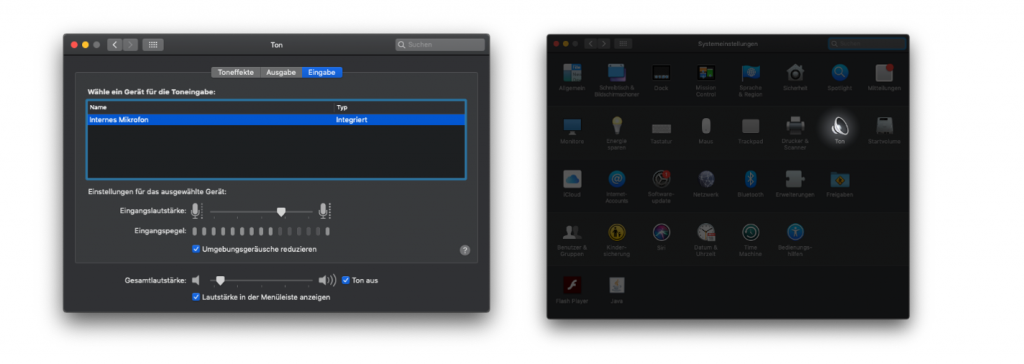
Check the level: Under MacOS, you can see the microphone level by opening the system settings and selecting “Input” under the “Sound” category. The level display for input level should be clearly visible when someone speaks into the corresponding microphone. The level should not reach all the way to the end, but should reach over the middle. Adjust the slider under “Input volume” accordingly and select “Reduce ambient noise”.
Unfortunately, level monitoring is not available under MACOS. We recommend using a USB audio devicehere. You can plug headphones directly into it and listen in.
You can find the online service at https://app.starteve.ai. To use it, you need an account and a purchased lesson package. You can get both directly in the store at https://www.starteve.ai/
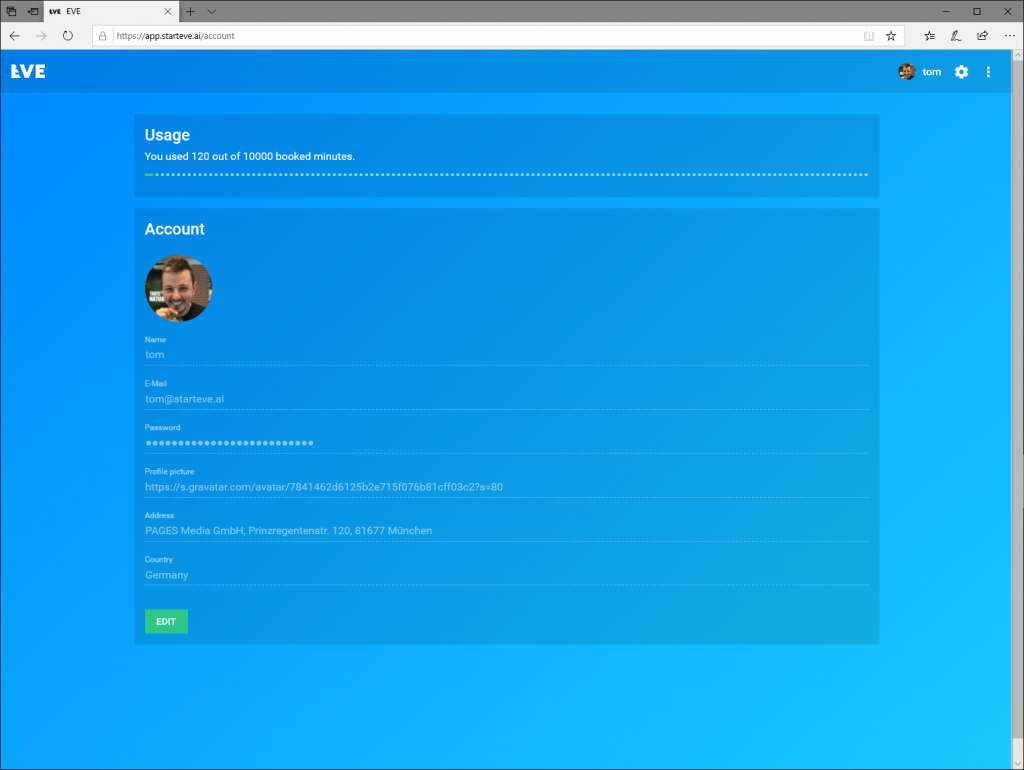
Click on the profile picture or name in the top right-hand corner to access the account settings. Under Usage you can see how many minutes you have purchased and used. If you want to buy more minutes, visit www.starteve.ai/#pricing. Under Account you will find all your account details. Click on [Edit] to change them. You can then freely change your name, e-mail address, password, link to your profile picture, address and country. If you change your e-mail address, EVE will check it with a test e-mail.
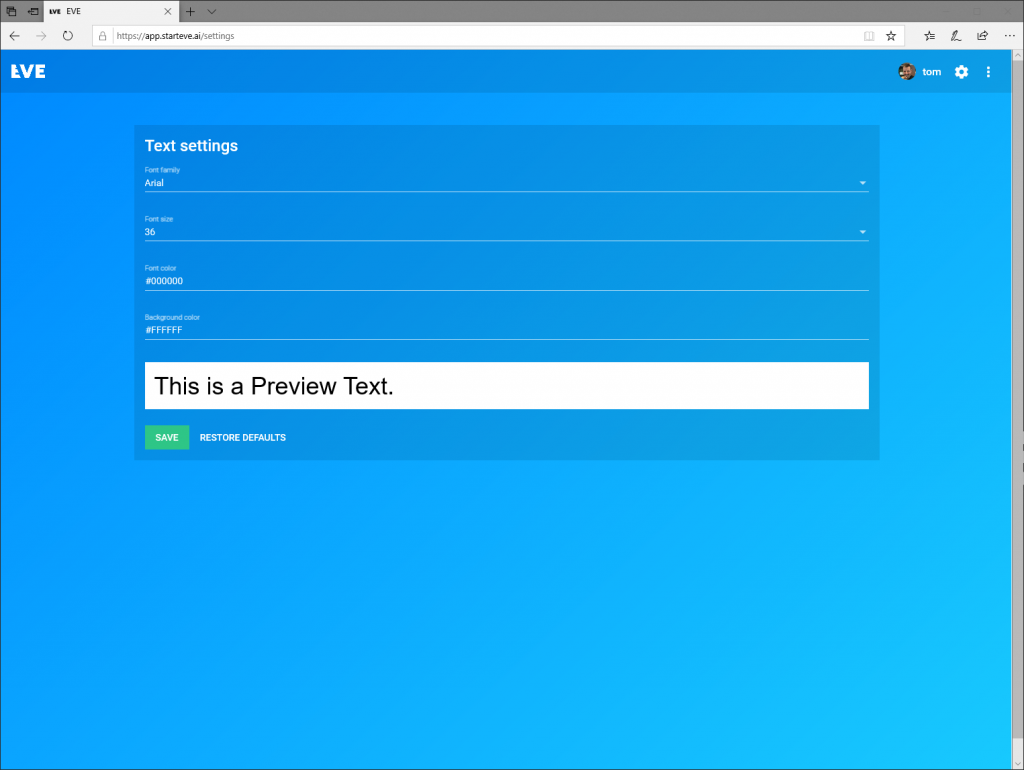
Clicking on the [gear icon] at the top right opens the settings for the output window. Here you can set the font type and size and determine the color of the characters and the background. You can find a list of color codes at https://www.color-hex.com/color-names.html.
Under Font transform you specify whether the output should be in upper case [Uppercase] e.g. HELLO, lower case [Lowercase] e.g. hello or with upper and lower case letters [Original] e.g. hello.
The preview section shows you your changes directly. Click on [SAVE] at the end. Use [Restore Defaults] to reset everything to the default values.
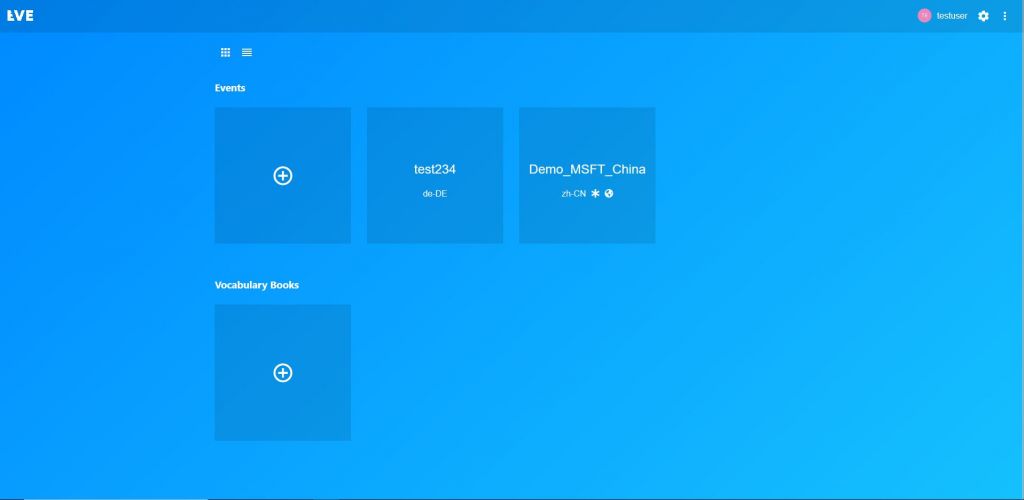
You can see all events created in the event overview. At the top left, you can switch between tile and list view. The small icons reveal at a glance which settings have been set in the event.
Tick = corrector is active
Star = filter for obscene words is active
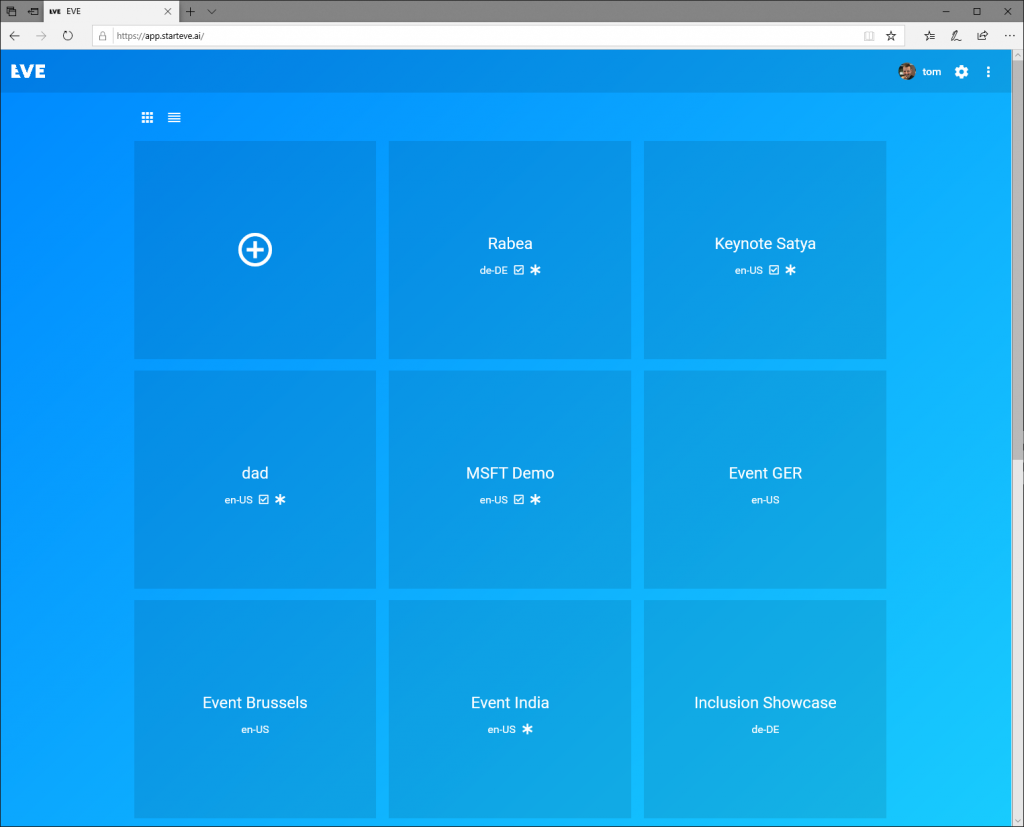
Click on [+] to create a new event. Enter any name for the event under Name. EVE will also use this name for the output link and automatically enter it under URL. However, you can still change this address before the event starts. Make sure that the address is simple.
You can set a password in the next line. Only users with the password can view the subtitles. This makes sense if the content of the event should only be accessible to a restricted user group. Don’t forget to communicate this password to all participants.
Under [Language] , select the language that EVE should recognize. Do you have a multilingual event? No problem, simply change these settings during the event. However, EVE needs about 10 seconds to make the change.
Activate the [Corrector] if you want to use a human corrector. EVE will then provide the recognized text blocks in the correction window. The address uses the following scheme: https://app.starteve.ai/corrector/EVENTNAME.
Attention: If your proofreader does not release anything, nothing will appear in the text output window (listener). EVE only lets through what is actively released.
The [Swearword filter] ensures that no obscene words (e.g. S*******) appear on the screen. EVE always automatically alienates swear words with asterisks. However, the output usually shows the actual word. This filter also suppresses the output of words with asterisks.
[Allow Translation] is only available if this feature has been enabled for your account. If you do not see it, please contact support. As soon as you activate the function, the listener window of the event will have a small check mark at the bottom of the screen. Behind this is a language selection, so that each listener can select their own language. If the user selects a different language than EVE displays, EVE will translate automatically. However, this slows down the output, as EVE needs entire sentences for the translation. In addition, clean pauses between sentences are necessary, as EVE separates sentences with pauses. A proofreader is particularly important here. If someone speaks without a pause, EVE cannot translate well. A corrector prevents a word that has already been incorrectly recognized from being translated. The sentence then makes no sense and there are errors.
![]()
Create your event with [CREATE EVENT] after you have made all the settings. EVE switches directly to the event and you can get started.
In the event view, you can see all the event settings again. At the top left you will find the name, below it the address of the output window. The icons below show you the settings you have made. You can change these at any time.
Language code = set recognition language
Tick = corrector is active
Star = filter for obscene words is active
Dictionary = EVE uses one or more dictionaries for this event.
Rotating loading circle = EVE is currently learning dictionaries that are linked to this event.
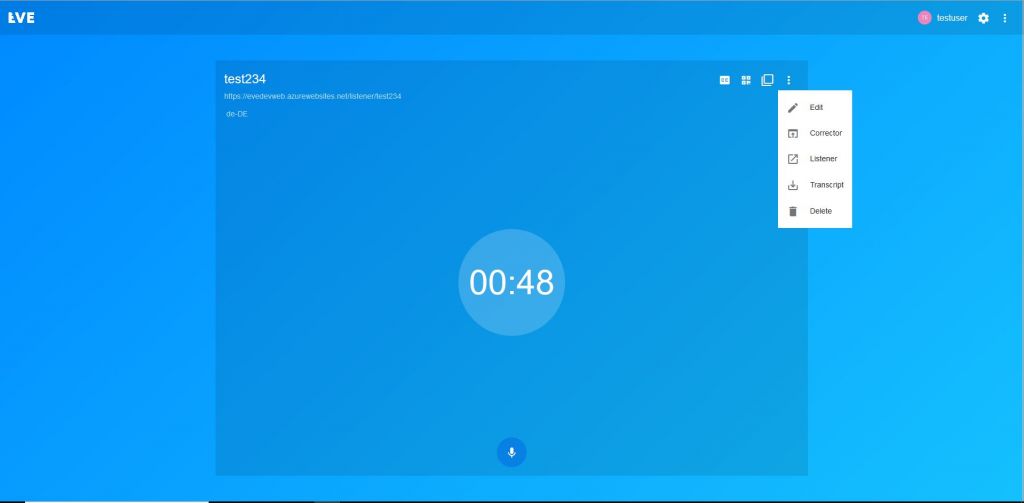
There is a [CC] button at the top right. Use this to test whether EVE is currently recognizing something. The button behind it (4 small squares with dots) generates a QR code that opens the output window when it is photographed. You can also display the QR code on the event area of a screen or print it in brochures and on displays. If you want to send the code, click on [Copy link to QR Code ] below the code. A new window will open with a direct link. Anyone can access this address, even without an EVE account. Use the symbol next to it to copy the event link to the clipboard. Further options are hidden behind[⁝]. [ Edit] calls up the event settings.
Use [Corrector] to open the correction window directly. [ Listener] opens a new text output window (Listener) without a toolbar. This is practical if the input and output device are the same device. With [Transcript] EVE creates a PDF with all content that was recognized during the event. If someone downloads a transcript during the event, the current status can be found in it.
Delete event
Click on “Delete” to delete the event. To be on the safe side, a prompt appears which you can confirm with [Move to trash] or cancel with [Cancel]. However, the event is not immediately gone, but is first placed in the trash for safety reasons. Open this via [:] and [Trash]. Here you will find all discarded events. Use [Restore] to restore the event, [DELETE PERMANENTLY] deletes it permanently after another security question. Restored events appear directly in your overview again.
You can use dictionaries to teach EVE technical jargon or complicated family names, for example. You can find an overview of your dictionaries in the main window under your events. Training and using dictionaries costs extra minutes, a warning message will appear to confirm this. A maximum of 50 dictionaries are possible per user.
Create dictionary
Click on [+] under Vocabulary Books in the main window. Enter a unique name under Name and select the language under Language. Enter all the technical terms you want EVE to learn. Confirm each word with a comma or Enter. Once all the technical terms have been integrated, create the dictionary with [CREATE BOOK].
 Train your dictionary
Once all the words have been entered, click on [START TRAINING]. EVE needs up to 30 minutes to study the words. As soon as it is finished, you will receive an e-mail and the training will be displayed as completed. However, you can assign the dictionary to an event beforehand. Of course, it will only be used once training is complete.

Change dictionaries
To change a dictionary, simply open it and enter additional words or remove some. Confirm at the end with [SAVE]. Each dictionary change requires a new training session. Even if only a single word has been deleted.
Assign dictionary
Open or create an event and activate [Use custom vocabulary books]. You can select one dictionary per language in the selection field below. If you change the language during the event, EVE will automatically switch to the appropriate dictionary. However, it is not possible to select multiple dictionaries in the same language.
Click on the [ ] below the time bubble to start speech recognition. As soon as the time runs out, EVE listens and – depending on the setting – outputs the text to the correction window or directly to the text output window (listener). If you attempt an event in which the corrector is activated but no corrector is connected, a corresponding warning message appears.
Some browsers ask whether they can access the microphone the first time. If there are several microphones to choose from, select the correct one. Then give the browser permission, preferably permanently and not just for this one session.
Please note: Some browsers (e.g. Firefox) do not care which microphone was selected in the operating system and use the user selection. Chrome and Edge, on the other hand, use the default device of the operating system. If you have more than one microphone connected (e.g. on laptops with an integrated microphone and a USB adapter for EVE, see Setup), select the correct device: Under Windows 10, go to Settings\System\Sound\Input \Input device and select the microphone. MacOS users click on System Preferences/Sound/Input and select the appropriate device from the list. In both cases, you can also test the connected microphone immediately.
If EVE is running, the text appears directly in the text output window (listener). If the correction window is active, the text blocks appear there first and someone must release them.
Open the correction window via the[⁝] in the event or by entering the address in the browser. The address is alwayshttps://app.starteve.ai/listener/EVENTNAME.
The text appears in the text output window (listener) as defined in the settings. The default setting uses white text on a black background. The text output window (listener) is synchronized on all devices – regardless of whether it is a device in the viewer’s hand or a large screen on stage. The maximum number of parallel displays is 1000.

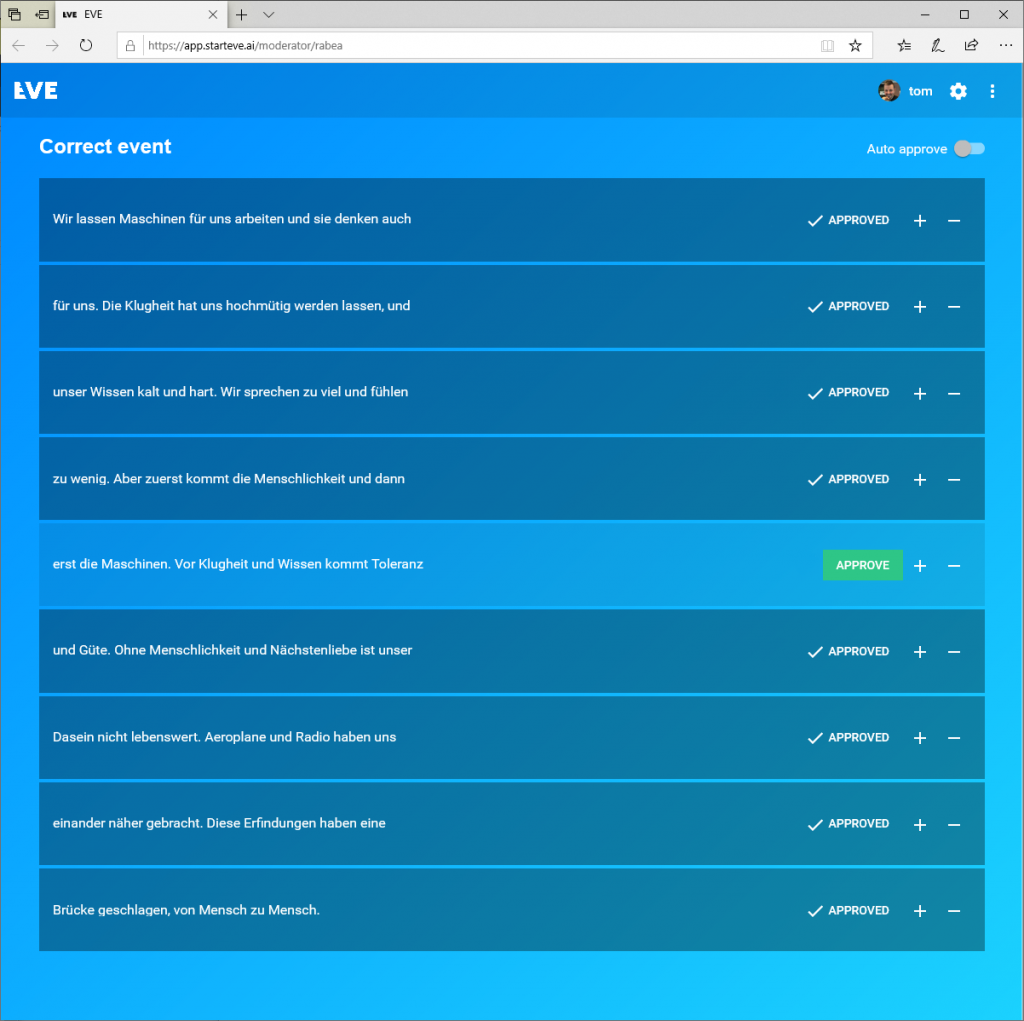
To use a corrector, the corresponding function must be active in the event settings. Open the correction window via the event settings or by entering the address in the browser. The address is always https://app.starteve.ai/corrector/EVENTNAME. EVE also supports multiple proofreaders. To do this, they all visit the same page. Text blocks edited by one proofreader are blocked for others and appear darker.
The [Auto-Approval] switch activates automatic release. EVE then automatically releases text blocks after 5 seconds.
Correct by changing the text directly. Click on [Approve] to release the current text block. The block becomes darker and the text appears in the text output window (listener). If you change something again and click [Approve], the text in the output window will be updated accordingly. Of course, you can also select text, cut (CTRL+x), copy (CTRL+c) and paste (CTRL+v). Use [+] to insert an empty line, [-] to delete the adjacent line.
Shortcuts:
Open the shortcut menu in the correction window with “?” or close it with “ESC”.
“CTRL+BACKSPACE” deletes the current text block
“CTRL+i” inserts an empty text block.
“CTRL+Enter” releases the current text block
EVE continuously writes the recognized text to a PDF. Click on[⁝] and [Download transcript] in the recording window to start the download as a PDF.
![]()